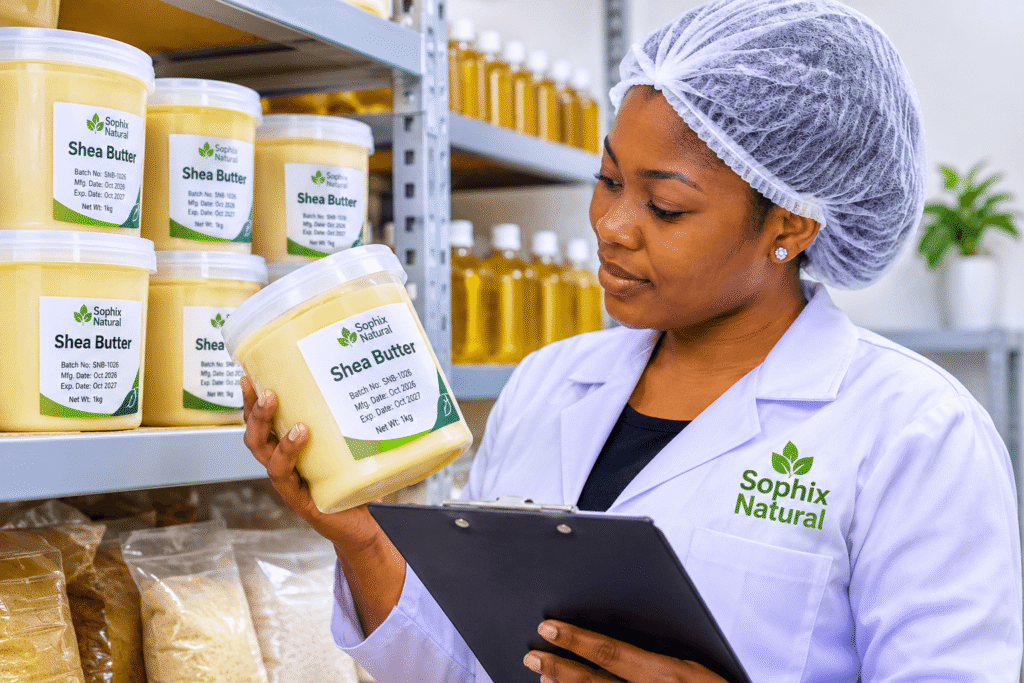

November is World Quality Month, so this post is about a habit that protects every batch you make: checking your ingredients before you use them.
A beginner formulator often finds out an ingredient was bad only after the cream separates, the oil turns rancid, or a customer complains. You can prevent most of that. When you test raw materials with a few simple checks, you catch obvious problems before they cost you a full batch.
At Sophix Natural, we supply cosmetic raw materials to formulators and skincare brands across Nigeria. Today I will show you how to test raw materials at home with tools you already own or can buy cheaply, what each check can and cannot tell you, and how to keep records that make your products safer and more consistent.
Let’s get into it.
What Does It Mean to Test Raw Materials at Home?
Home testing means simple physical and sensory checks. You look, smell, feel, and observe how an ingredient behaves. These checks catch spoilage, contamination, and obvious mislabelling.
Home testing does not replace laboratory testing. You cannot confirm purity percentages, heavy metals, or microbial safety in your kitchen. For those, you rely on supplier documentation and, for finished products sold commercially, proper testing.
Think of home checks as your first line of defence. They are quick, free, and worth doing every time.
Why You Should Test Raw Materials Before Every Batch
Three reasons make this worth your time.
First, heat and humidity in Nigeria speed up spoilage. An ingredient that was fine three months ago may be rancid today. Second, a failed batch wastes everything else in it, including your other ingredients, packaging, and time. Third, a contaminated product can irritate skin, and melanin-rich skin often shows irritation as lasting dark marks.
Therefore, five minutes of checking before you start is cheap insurance.
What You Need for Home Quality Checks
You do not need a laboratory. Gather these basics.
- A clean white plate or tile, so you can judge colour properly
- Clean, dry spoons or spatulas
- pH strips
- A notebook or phone for your batch log
- Masking tape and a marker for labelling
- A small kitchen scale in grams
- A thermometer
- Disposable gloves
The 6 Checks to Test Raw Materials Before You Use Them
Check 1: Read the Label and Record the Batch
Before you open anything, look at the container. Does it show the product name, the INCI name, a batch or lot number, and a date? If something is missing, write down what you were told by the seller and add the date you received it.
If you cannot identify an ingredient, do not use it. Unknown ingredients are never worth the risk.
Check 2: The Look Test
Place a small amount on your white plate in good light. Compare it with what that ingredient should look like.
- Oils should be clear or lightly coloured, without floating particles
- Butters should have an even colour and a smooth surface
- Powders should be dry and free-flowing, without hard lumps or visible mold
- Liquids such as glycerine should be clear and thick, not cloudy
Discoloration, specks, mold, or water droplets in an oil or butter are warning signs.
Check 3: The Smell Test
Smell is your most useful tool. Trust it.
- Unrefined shea butter has a mild, nutty smell
- Fresh sweet almond oil smells faintly nutty or almost neutral
- Virgin coconut oil smells like fresh coconut
- Rancid oils smell sharp, sour, like old paint, or like stale crayons
Refined ingredients may have almost no smell, so know what your specific grade should smell like. If you are unsure, compare with a fresh sample from a trusted source. Never use an ingredient that smells rancid, even if it looks fine.
Check 4: The Touch and Melt Test
Rub a small amount between clean fingers.
Shea butter should feel soft and melt on contact with warm skin. Natural Shea Butter can feel slightly grainy if it has cooled unevenly, and that is often a temperature effect rather than a quality problem. You can fix graininess by melting it gently and cooling it steadily. However, a greasy, sticky, or foul-smelling butter is a different matter.
Oils should feel smooth and absorb without an unpleasant, tacky residue. Powders should feel fine and dry.
Check 5: The Temperature Behaviour Test
Different ingredients react to temperature in predictable ways. Use these as reality checks.
Coconut Oil is solid in cool rooms and liquid in warm ones, because its melting point sits around the temperature of a warm room. If it stays liquid in a cold fridge for days, question what you have. If it melts in Nigerian heat, that is normal and not a sign of low quality.
Shea butter melts at roughly body temperature. If a sample refuses to soften in your hand, it may be mixed with something harder.
Glycerine is thick and syrupy, and it mixes with water. Vegetable Glycerine stirred into a small glass of water should dissolve evenly. If it floats in oily blobs, it is not glycerine.
Check 6: The pH Strip Test for Water-Based Ingredients
For water-based ingredients and finished water-based products, pH strips give you a rough reading. Skin-friendly products usually sit near pH 5 to 6. Dip a strip, wait for the colour, and compare it with the chart. Note that pH strips are approximate, so use them as a guide and not as a precise measurement. Do not use pH strips on pure oils or butters, because they contain no water.
How to Test Raw Materials by Ingredient Type
Oils and Carrier Oils
Smell first. Then check clarity and look at the bottle. Oils stored in clear bottles in sunlight go off faster. Sweet Almond Oil should be pale and clear with a light smell. A heavy, stale smell means oxidation, so do not use it on skin.
Butters
Check smell, colour, and texture. Cut a small piece and look at the inside, because spoilage sometimes shows there first. Discard butter with mold, an off smell, or dark patches.
Surfactants and Cleansers
Look at clarity and consistency. Cocamidopropyl Betaine is usually a clear to slightly hazy liquid. Large changes in thickness between batches affect how thick and foamy your shampoo or face wash turns out, so record what you receive each time.
Powders and Actives
Check dryness and flow. Clumping suggests moisture exposure. Never taste or inhale powders, and use a mask and gloves when handling fine actives.
Preservatives
You cannot confirm that a preservative works at home. Preservative effectiveness requires laboratory challenge testing. What you can do is confirm the label, check the date, follow the supplier’s recommended usage rate exactly, and store it as directed.
Test Your Finished Product Too
Testing raw materials is only half the job. After you make a small sample batch, check how it behaves over time.
The Stability Check
Keep a labelled sample in a clean container at normal room temperature, and another in a slightly warmer place, but not in direct sun. Check them after a few days, then weekly for several weeks. Look for separation, colour change, new smells, texture changes, or any sign of mold. Water-containing products that develop a musty smell or visible growth must be thrown away immediately.
The Patch Test
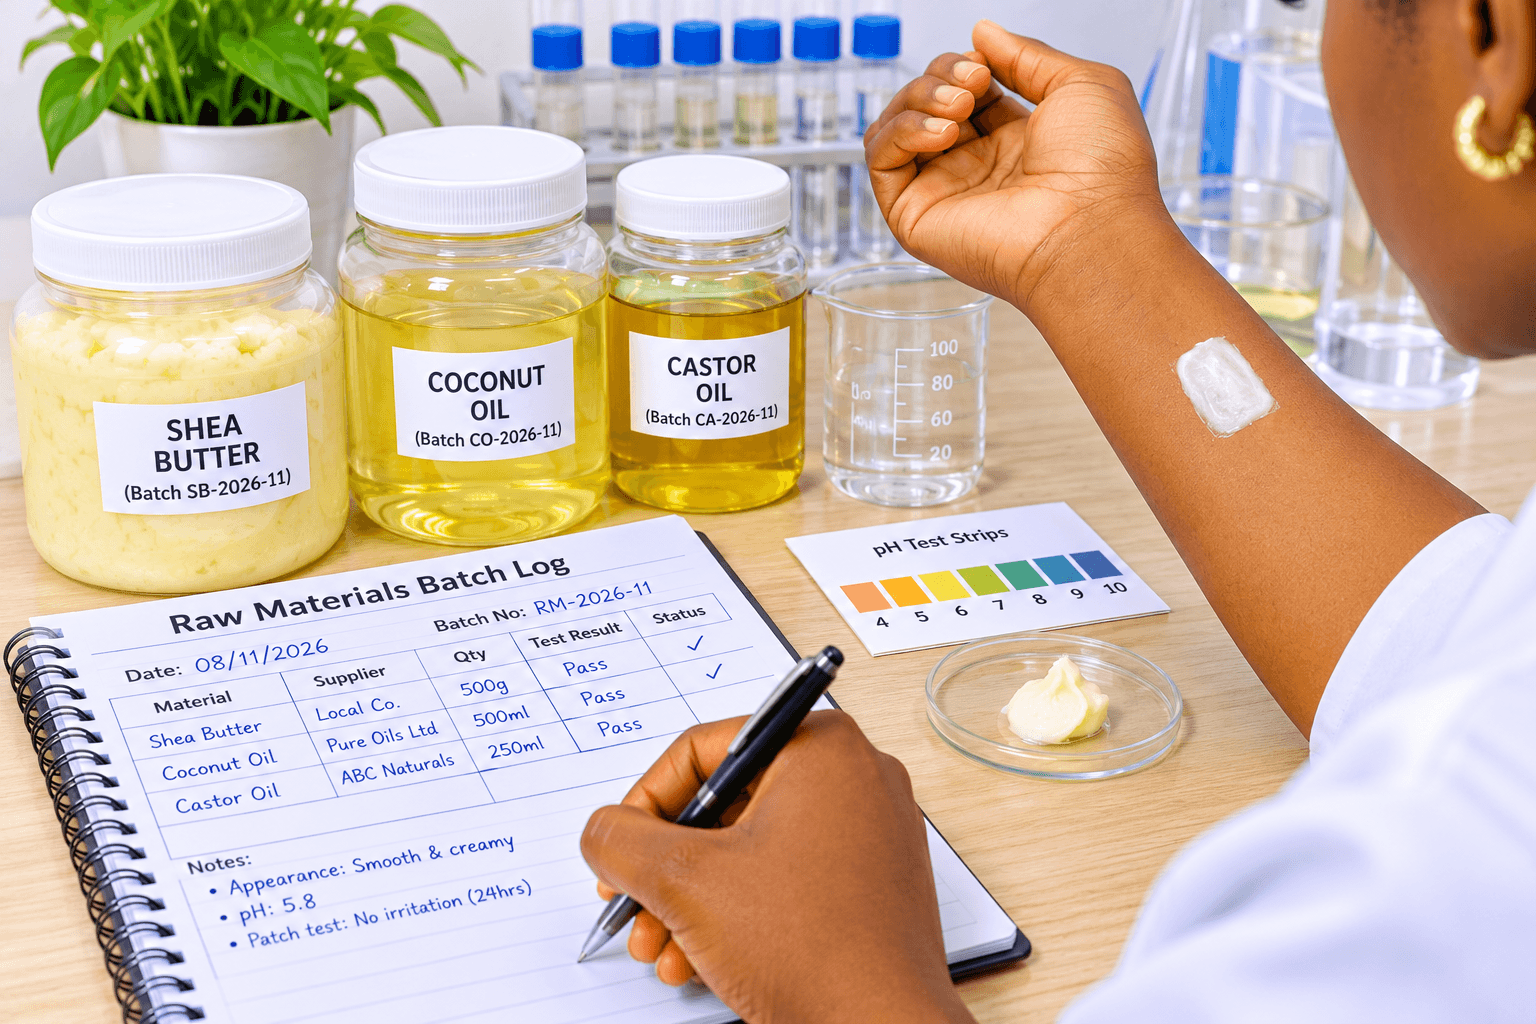
Apply a small amount of your finished product to the inside of your forearm and leave it for 24 hours. Watch for redness, itching, or swelling. Stop if any reaction appears. A patch test does not guarantee safety for everyone, but it catches obvious irritation early.
How to Keep a Batch Log
A batch log is the habit that turns good intentions into consistent quality. It costs you two minutes per batch.
Record these details every time.
- Date
- Product name
- Each ingredient, its supplier, and its batch or lot number
- Amounts used, in grams
- Temperatures reached
- pH reading, if applicable
- Smell, colour, and texture notes
- Any problems and how you fixed them
If a customer ever reports a problem, your log lets you trace which ingredient batch went into which product. This is the same traceability principle that large manufacturers follow, and you can apply it at any size.
Common Mistakes When You Test Raw Materials
Skipping the smell test because the ingredient “looks fine.” Rancidity is often invisible.
Testing with dirty spoons. You contaminate the container you are trying to protect.
Trusting one fresh batch forever. Quality can change, so check every new delivery.
Using home checks as proof of safety. They catch obvious problems, not invisible ones.
Throwing away your records. Without a log, you cannot learn from failures.
Ignoring storage. An excellent ingredient left open in a hot room can spoil in weeks.
When to Reject an Ingredient
Reject and do not use an ingredient if you notice any of these.
- A rancid, sour, or chemical smell
- Mold, slime, or unexplained specks
- Cloudiness where clarity is expected
- A broken or missing seal on a product that should be sealed
- No label or no way to identify what it is
- A different appearance or smell from the last batch with no explanation
If you bought it from a supplier, contact them with your batch details and a photo. A reliable supplier will want to hear about the problem.
Quality, Safety, and Regulation
Checking raw materials fits into a bigger picture of safe production. If you sell cosmetics in Nigeria, check what NAFDAC requires for your products on the NAFDAC website. For a framework on how organized manufacturers think about quality management, you can also read about standards published by the International Organization for Standardization. You do not need certification to borrow their discipline, which is documentation, consistency, and traceability.
What Our Role Is as Your Supplier
A supplier and a formulator share responsibility for quality. We aim to support you with accurate product information and clear answers to your questions.
Every ingredient we supply comes with a Certificate of Analysis (COA). Customers can also download the Material Safety Data Sheet (MSDS) and, where available, the Technical Data Sheet (TDS) from their account after purchase. If you need help with usage rates, compatibility or how an ingredient fits your formula, our in-house cosmetic chemist offers free formulation guidance, and one-on-one consulting is available for stability testing, INCI review and cost optimisation.
Sophix Natural is CAC registered and NAFDAC compliant. Contact our team Monday to Saturday, 8am to 6pm WAT, on +234 706 1111 838 or admin@sophixnatural.com.
If anything you receive from us does not meet your expectations, contact us on 0706 111 1838 so we can look into it.
What Home Testing Cannot Do
Be clear about the limits. Home checks cannot measure purity, detect heavy metals, confirm that a preservative system protects your product, or prove that a product is microbiologically safe. They also cannot replace professional testing when you scale up or sell widely. Use them to catch obvious problems and to build good habits, and seek professional advice as your business grows.
Your Action Plan for World Quality Month
First, go through every ingredient you own and run the look and smell tests.
Second, discard anything rancid, mouldy, or unidentifiable.
Third, label every container with the batch number or receipt date and the date you opened it.
Fourth, start a batch log for your next production.
Finally, make a small test batch of your next recipe and run a stability check and patch test before you scale.
Ready to stock up with fresh ingredients? Explore these:
- Natural Shea Butter: for creams, balms, and body butters
- Sweet Almond Oil: a light carrier oil for skin and hair
- Vegetable Glycerine: a humectant for toners, lotions, and hair care
- Coconut Oil: a versatile oil for body care and hair treatments
What checks do you run before you use a new ingredient? Share your routine in the comments below, and help other formulators raise their standards.